Introduction
There’s a special kind of magic in baking bread. The alchemy of transforming simple, humble ingredients—flour, water, yeast, and salt—into a fragrant, golden loaf is one of the most satisfying experiences in the kitchen. For many, the thought of making artisan-style bread is intimidating, conjuring images of strenuous kneading, precise temperatures, and complex techniques. But what if you could achieve a bakery-quality result with minimal effort and no kneading at all?
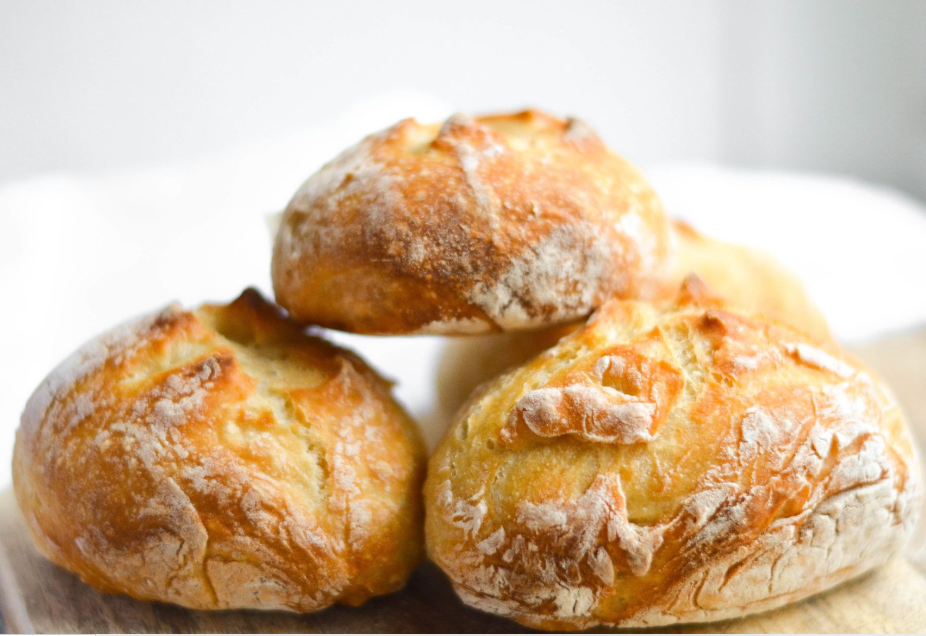
Enter the No-Knead Artisan Bread Roll. This method is a revelation, leveraging time and a wet dough to develop gluten naturally, resulting in a roll with an impossibly crispy, shattering crust and a soft, airy, and chewy interior riddled with irregular holes. It’s a recipe that empowers the home baker, promising and delivering spectacular results that will fill your home with the incomparable scent of fresh-baked bread.
Tips for Successful Cooking
Before you begin, keeping these key tips in mind will ensure your baking success:
- Weigh Your Ingredients: For the most consistent results in baking, especially with bread, using a kitchen scale is a game-changer. Cup measurements can vary wildly, but grams are precise.
- Don’t Fear the Wet Dough: The high hydration (wetness) of this dough is what creates the open, airy crumb. Resist the urge to add more flour during the mixing and shaping stages. Use wet hands or a bench scraper to handle it.
- Preheat Thoroughly: Give your Dutch oven a full 30 minutes to preheat. A screaming-hot pot is non-negotiable for achieving that explosive oven spring and crispy crust.
- The Sound of the Crust: You know you’ve achieved the perfect crust when you hear the rolls “sing”—a faint crackling sound—as they cool.
- Storing and Reheating: These rolls are best eaten the day they are made. To refresh day-old rolls, spritz them with water and warm them in a 350°F (175°C) oven for 5-10 minutes until crisp.
Frequently Asked Questions (FAQ)
Q: Can I use all-purpose flour instead of bread flour?
A: Yes, you can. Bread flour has a higher protein content, which contributes to a stronger gluten network and a chewier crumb. All-purpose flour will yield a slightly more tender and less chewy roll, but the result will still be delicious.
Q: My dough didn’t rise much during the 12-18 hour period. What went wrong?
A: The most likely culprit is the yeast. It could be old or inactive. Another factor is temperature. If your kitchen is particularly cold, the yeast will work much slower. Next time, try placing the dough in a slightly warmer spot (like an oven with the light on).
Q: Why is a Dutch oven necessary?
A: The Dutch oven replicates the steam-injected ovens of professional bakeries. By trapping the moisture that evaporates from the dough, it keeps the crust soft and supply initially, allowing the rolls to achieve a great “oven spring” (rapid rising). Then, when you remove the lid, the excess moisture escapes, allowing the crust to become incredibly crisp and golden.
Q: Can I add other flavors to this dough?
A: Absolutely! This is a fantastic base recipe. After the initial mix, you can fold in ingredients like chopped fresh rosemary, grated garlic, shredded cheese, olives, or sun-dried tomatoes.
The Recipe: Homemade Crispy Golden No-Knead Artisan Bread Rolls
Yields: 8-10 rolls
Prep Time: 15 minutes, plus 12-18 hours rising
Cook Time: 20-25 minutes
Ingredients:
- 3 cups (360g) Bread Flour (All-Purpose flour works, but bread flour gives a better chew)
- 1 ½ cups (360ml) Warm Water (around 100°F/38°C)
- 1 ¼ tsp (7g) Fine Sea Salt
- ½ tsp (2g) Instant Yeast (or Active Dry Yeast)
Equipment:
- A large mixing bowl
- Plastic wrap or a damp kitchen towel
- A Dutch oven or a heavy-bottomed, oven-safe pot with a lid
Instructions:
- Mix the Dough: In a large bowl, whisk together the flour, salt, and instant yeast. Pour in the warm water and use a wooden spoon or your hands to mix until a shaggy, sticky, and cohesive dough forms. There should be no dry spots of flour. The dough will be very wet and slack—this is perfect and key to the final texture.
- The Long Rise (Bulk Fermentation): Cover the bowl tightly with plastic wrap or a damp kitchen towel. Place it in a warm, draft-free spot in your kitchen and let it rest for 12 to 18 hours. The dough is ready when it has doubled in size, is covered in bubbles on the surface, and has a slightly domed top.
- Shape the Rolls: Once the long rise is complete, generously flour a work surface and your hands. Gently scrape the dough out onto the surface. It will be very loose and bubbly—handle it gently to preserve the air pockets. Using a bench scraper or a sharp knife, divide the dough into 8-10 equal portions.
- To shape each roll, gently fold the edges of a portion towards the center, creating a smooth “skin” on top. The bottom will be seam-y. Don’t worry about perfection; rustic is beautiful!
- Second Rise: Place the shaped rolls, seam-side down, on a well-floured piece of parchment paper, ensuring they are spaced a few inches apart. Cover them loosely with the towel and let them rise for another 30-60 minutes, or until they look puffy. Meanwhile, place your Dutch oven (with the lid on) into your oven and preheat it to 450°F (230°C). This should take a full 30 minutes.
- Bake to Perfection: Carefully remove the preheated Dutch oven from your oven and take off the lid. Using the parchment paper as a sling, gently lower the rolls into the hot pot.
- Spritz with Water (Optional but Recommended): Quickly mist the top of the rolls with a few sprays of water. This creates extra steam for a crispier crust.
- Immediately cover with the lid and place it back in the oven. Bake for 15 minutes with the lid on.
- Remove the lid and continue baking for another 5-10 minutes, or until the rolls are deeply golden brown and crispy.
- Cool and Serve: Using tongs or a spatula, carefully transfer the rolls to a wire cooling rack. It is vital to let them cool for at least 20-30 minutes before tearing into them. This waiting period allows the internal steam to finish setting the crumb.
Conclusion
Mastering these Crispy Golden No-Knead Artisan Bread Rolls is more than just learning a recipe; it’s about embracing a simpler, more intuitive approach to baking. It proves that with patience and a trust in the process, you can create something extraordinary without specialized skills or equipment. The reward is not just a basket of stunning, delicious rolls that will impress everyone at your table, but also the profound satisfaction of having created a true artisan masterpiece with your own two hands. So, clear your schedule, mix the dough, and let time do the work. Your future self, happily tearing into a warm, crispy roll, will thank you.
